.avif&w=3840&q=75)
.avif&w=3840&q=75)
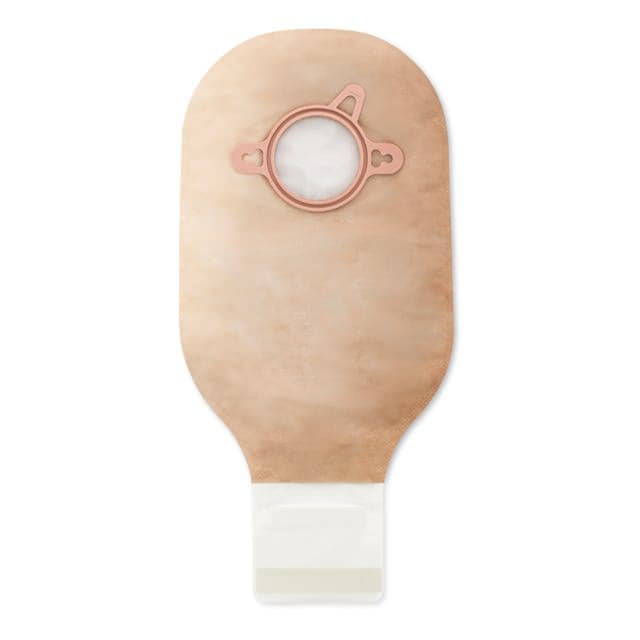
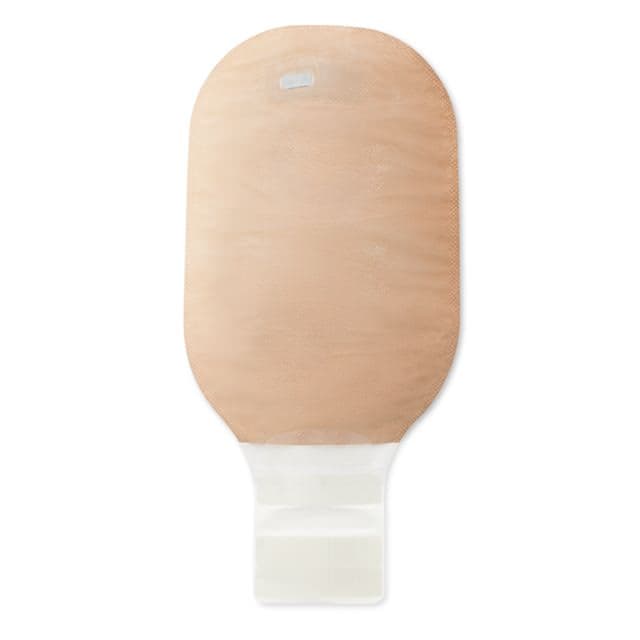
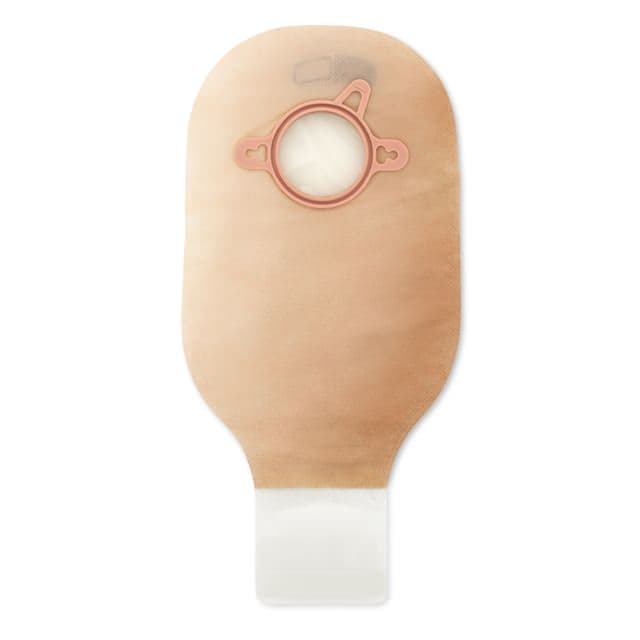
Disclaimer: Product images are for illustrative purposes only. The actual product, configuration (where applicable), packaging, labeling, included accessories, and product details may vary from the images shown.
Image 1 of 3. Swipe to navigate. Tap to view fullscreen.
Quantity: